Sometimes you would like to overrule delivery times of individual products, in this article we'll inform you how to accomplish this.
In the most ideal situation you would like to automate your delivery times. By using the delivery time from your webshop and translate (mapping) these into marketplace compliable delivery times. If you would like to know how to configure this, read this article.
It can be useful though, to configure a different delivery time for certain products. This can be accomplished by using our super flexible 'custom attributes'.
- How can you use a custom attribute in this situation? At the product level, you can create a freely fillable custom attribute. So we create a new custom attribute, which you can use on every product you like. Next, we use this attribute to use as delivery time for your channel.
First, creating the custom attribute
- In EffectConnect, navigate to 'catalog > custom attributes' in the menu on the left.
- On the custom attributes overview page, click the button that says 'new custom attribute'.
- Select 'freely fillable' and give your attribute a name. Normally you would call it something like 'delivery time per product'.
- Click Save.
Well done, you've made your custom (freely fillable) attribute.
Second, we're going to fill this attribute
So, the attribute is made and usable. Now we're going to fill it.
- Open the product that you would like to assign a delivery time to. Are you not sure how to open a product? Then read this article.
- When the product is opened, click on the tab on top that says 'attributes' and choose the sub-tab that says 'freely fillable attributes'.
- In this overview, you will find all the freely fillable attributes you made in the custom attributes. Also the attribute we made earlier.
- Edit the freely fillable attribute for the delivery time and fill in your preferred delivery time. This can be a single-line input and does not have to be multi language.
- Save your input. You filled in the attribute for this product and can repeat the process for all the products you would like.
![]() Good to know: please use consistent delivery times. For example, don't use '2-3 days', and '2 to 3 days'. Try to re-use earlier used delivery times, if possible. This is because you need to map every delivery time you filled in in the next steps.
Good to know: please use consistent delivery times. For example, don't use '2-3 days', and '2 to 3 days'. Try to re-use earlier used delivery times, if possible. This is because you need to map every delivery time you filled in in the next steps.
At last, map your delivery times for the marketplaces
When all the products have their own custom delivery time, you need to map the delivery time in the marketplaces section. This is necessary for the marketplace to understand your delivery times.
For example, you need to translate your own delivery times, to a delivery time the marketplace understands. If your delivery time is '2-3days' in EffectConnect, the marketplace needs to show '2-3 working days'. This can be accomplished using a delivery time mapping.
- Navigate to 'Apps > Your apps' in the left menu of EffectConnect.
- Edit the channel you would like to apply the delivery times too.
- Go to the tab 'delivery time settings'.
- Go to the field titled 'delivery time attribute' and select your own custom attribute from the dropdown menu.
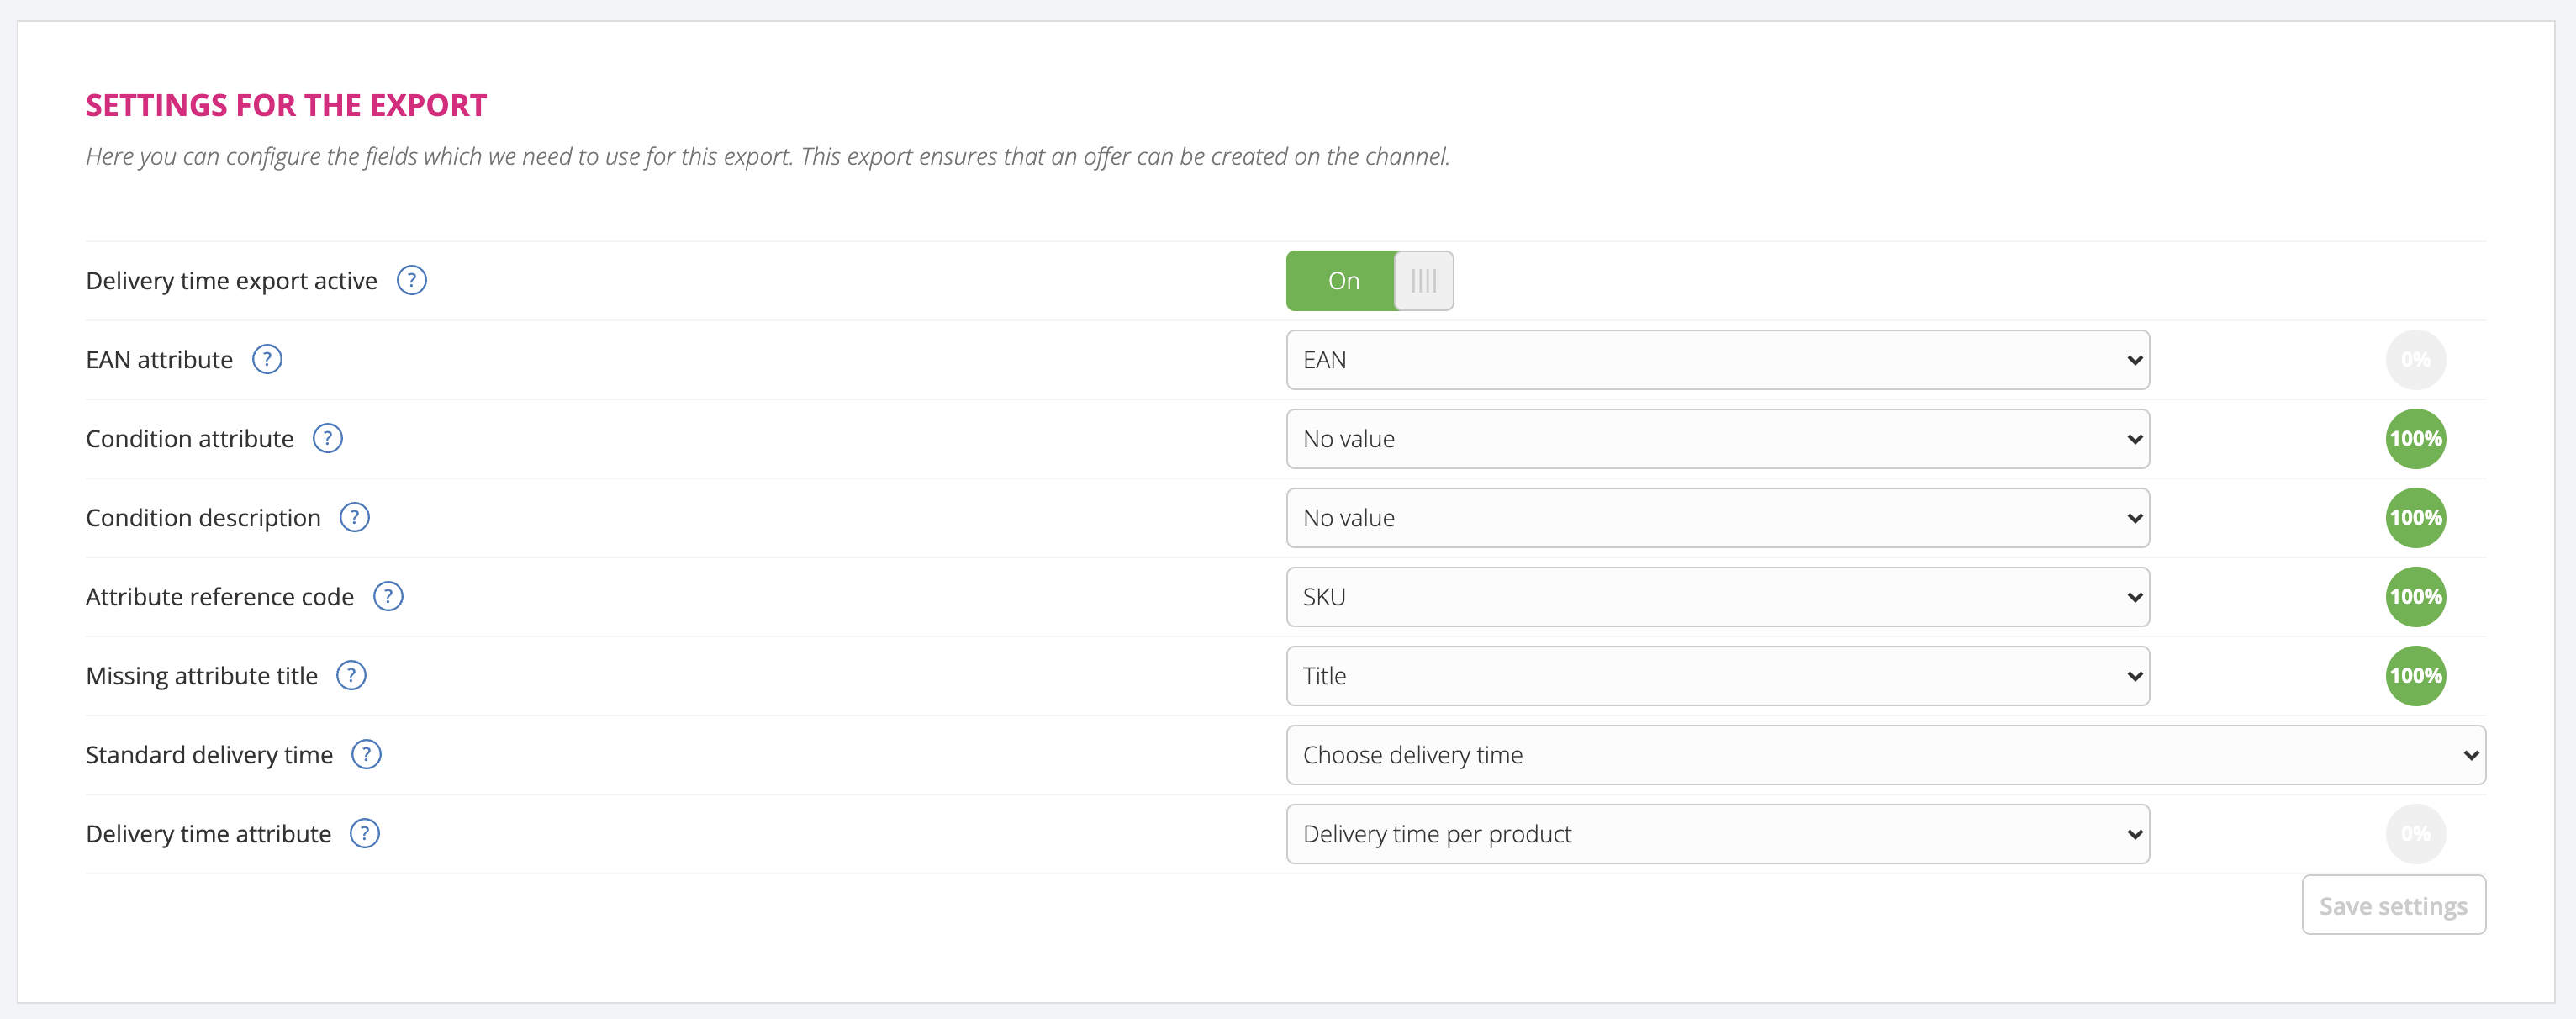
- Confirm your change.
- Scroll down to the 'delivery times mapping' and add new rules, to map your own delivery times.
If you need more information about delivery time mapping, please read this article