![]() This onboarding guide is for users who already have an EffectConnect account and completed the installation. If not, please first install EffectConnect or contact our customer success team.
This onboarding guide is for users who already have an EffectConnect account and completed the installation. If not, please first install EffectConnect or contact our customer success team.
![]() If you change your webshop system (for example from Lightspeed to Shopify), you must create a new EffectConnect account and complete the installation and onboarding again.
If you change your webshop system (for example from Lightspeed to Shopify), you must create a new EffectConnect account and complete the installation and onboarding again.
Please contact us in advance, as such migrations require several steps and time from both sides.
Getting started with EffectConnect is straightforward.
In this onboarding guide:
-
we cover out integration platform
-
Take you from logging in to activating your channels
Looking to publish products on feed-based platforms like Google Shopping or create a product data feed? Then check out our Feed Manager instead.
-
Logging in to EffectConnect!
You can read how to log in (and change your password) on this page.
If you received your credentials from one of our specialists, then first change your password to make sure that you're all safe to start. If you have any questions for us, know we're here for you and glad to help!
Should you need further assistance in this step, please contact our support specialists.
-
Welcome! Let's start
Once you're logged in to EffectConnect, you will see your dashboard. This is basically your home page. It is the center of EffectConnect where you can see all your sales and orders at-a-glance. To read more about the dashboard, click here.
We've created instructions for every module in EffectConnect. You can read about the function of a module, and how to use it.
Got some time? Yay! Grab a coffee, and read through all the modules here: Setting up your account. -
Check your import of products
Are your products (and related data like brands, categories, images, and so on) imported into EffectConnect? You can check this by navigating to your product detail page.
It can take up to 2 hours before data will be visible in EffectConnect, especially when you're using a custom-built webshop connection that you've connected with a plugin or in the app store of your webshop system.
If your products don't appear in EffectConnect, even after 2 hours, please contact us. We're glad to help you out. -
Adding a channel and configuring it to your needs
To automate your connection, you need to add channels in EffectConnect. These are the marketplaces you would like to connect with. To add a channel, read this article where we explain everything about adding channels. This is also the step where you configure which products you would like to export to your channel(s), set up your delivery times, shipment settings, and all other channel-related settings.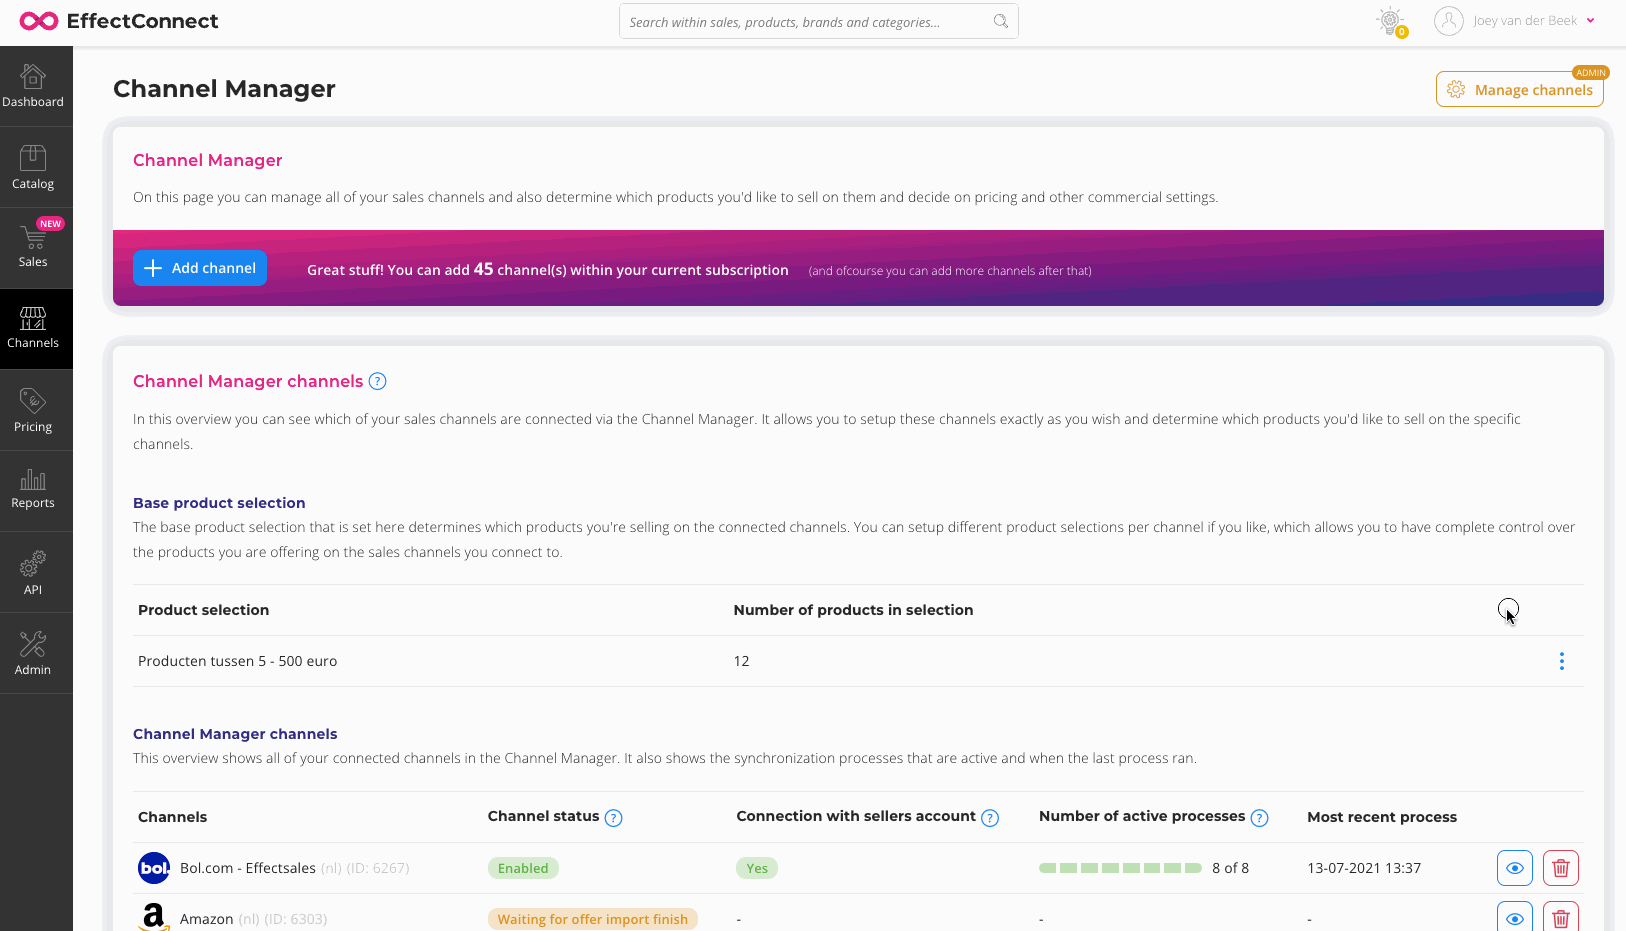
-
Configure your pricing
Of course, you would like to sell your products at the right price. You can configure all price settings in different ways, and manage them for specific channels.
Prices in general: add a surcharge to your selling prices or maybe decrease your prices? Go to Surcharges
Price planner: If you want to set certain prices for your products for a specific time period (like season sale), you can use the price planner. Go to Price planner
Tiered pricing: apply a discount to your products when a customer buys more than one unit of the same item, use the Tiered prices module.
Repricer: If you have competitors and you would like to adjust your prices automatically, then take a look at our Repricer. This tool improves your chances of winning the buy-box with the right prices while respecting your minimum and maximum prices. Learn more about the Repricer -
Exclude products from export
If you would like to export products from export towards the marketplace, then you can do this by adjusting your product selection, using a blocking rule, or using a custom attribute to exclude products.
To read more about how this works, read this article. -
Check if your order connection functions (optionally)
Our connections normally function straight after installation. However, we can imagine that you would like to double-check your order synchronization before going live with your channels.
To do this, you can create test orders in EffectConnect that you can export to your webshop to see if they're exported successfully.
Next to that, you can add a shipment to this order (in your webshop/e-commerce system) to see if the update is successfully received by EffectConnect.
Read more about creating and exporting test orders in this article.
After following these steps, you're ready to take off.
Please note that there might be more connection-specific settings you can change, based on the type of webshop or e-commerce system you use. To know which other settings you can change in your situation, please view this article in which you can read more about your type of connection.
Ready, set, go!

If you configured everything according to your needs and wishes, you just need to double-check if all your channels are active, and you're ready to go!
![]() Good to know: Your products may not come online immediately in the marketplace. Keep in mind the synchronization times anyway (you can read more about that in this article), but it can also be the case that a marketplace manually approves or loads your content.
Good to know: Your products may not come online immediately in the marketplace. Keep in mind the synchronization times anyway (you can read more about that in this article), but it can also be the case that a marketplace manually approves or loads your content.
To find out if this is the case for the marketplaces you have added, read the 'good to knows' about marketplaces via this link.
Contact us
If you have any questions or would like us to monitor your first synchronizations, please contact us.